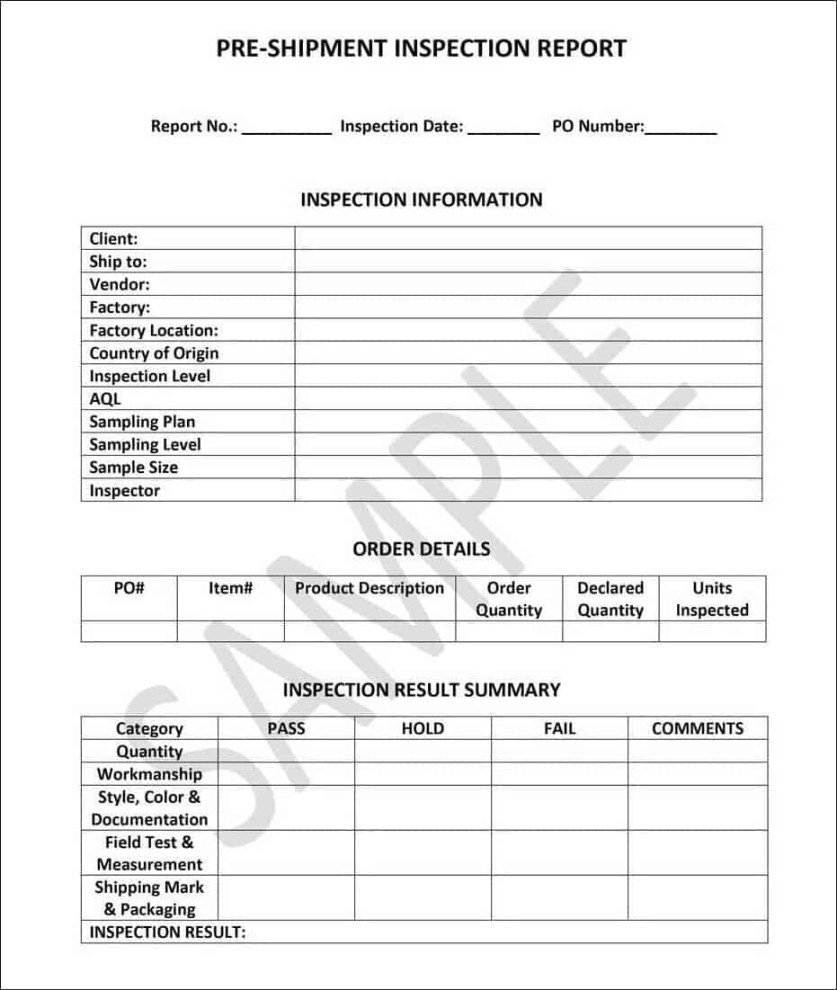
A Certificate of Inspection (COI) is a formal document that verifies the condition of a product, service, or property. It is often required for legal, insurance, or regulatory purposes. A well-designed COI template can enhance the credibility and professionalism of your business.
Key Elements of a Professional COI Template

1. Header: The header should prominently display the name of your business, logo, and contact information. Consider using a serif font for a more formal appearance.
2. Certificate Number: Assign a unique certificate number to each COI to facilitate tracking and reference.
3. Date of Inspection: Clearly indicate the date when the inspection was conducted.
4. Inspection Site/Item: Specify the location or item that was inspected.
5. Inspector Information: Include the name, title, and signature of the inspector who conducted the inspection.
6. Inspection Criteria: List the specific criteria or standards used to assess the condition of the inspected item.
7. Inspection Findings: Clearly state the results of the inspection, including any defects, deficiencies, or areas of concern. Use concise and objective language.
8. Overall Assessment: Provide an overall assessment of the inspected item’s condition, such as “satisfactory,” “unsatisfactory,” or “conditional.”
9. Recommendations: If applicable, offer recommendations for addressing any issues identified during the inspection.
10. Disclaimer: Include a disclaimer stating that the COI is based on the inspector’s observations and does not guarantee the future condition of the inspected item.
Design Considerations for a Professional COI Template
Layout: Choose a clean and uncluttered layout that is easy to read and navigate. Consider using a grid-based system to ensure consistency and alignment.
Creating a COI Template with WordPress
WordPress offers several plugins and themes that can be used to create professional COI templates. Here are some key steps to follow:
1. Choose a Theme: Select a WordPress theme that is clean, modern, and customizable. Look for themes that offer flexible layout options and a variety of typography choices.
2. Install a Page Builder Plugin: A page builder plugin, such as Elementor or Beaver Builder, can help you create custom layouts and design elements without writing code.
3. Create a New Page: Create a new page in your WordPress dashboard and give it a title such as “Certificate of Inspection Template.”
4. Design the Template: Use the page builder plugin to design the template according to the key elements and design considerations outlined above. Add text boxes, images, and other elements as needed.
5. Customize the Template: Customize the template to match your brand identity and specific requirements. You can adjust the colors, fonts, and layout as needed.
6. Save and Publish: Once you are satisfied with the design, save and publish the template. You can then use it to generate new COIs as needed.
By following these guidelines and utilizing the capabilities of WordPress, you can create a professional and effective Certificate of Inspection template that meets your business needs.